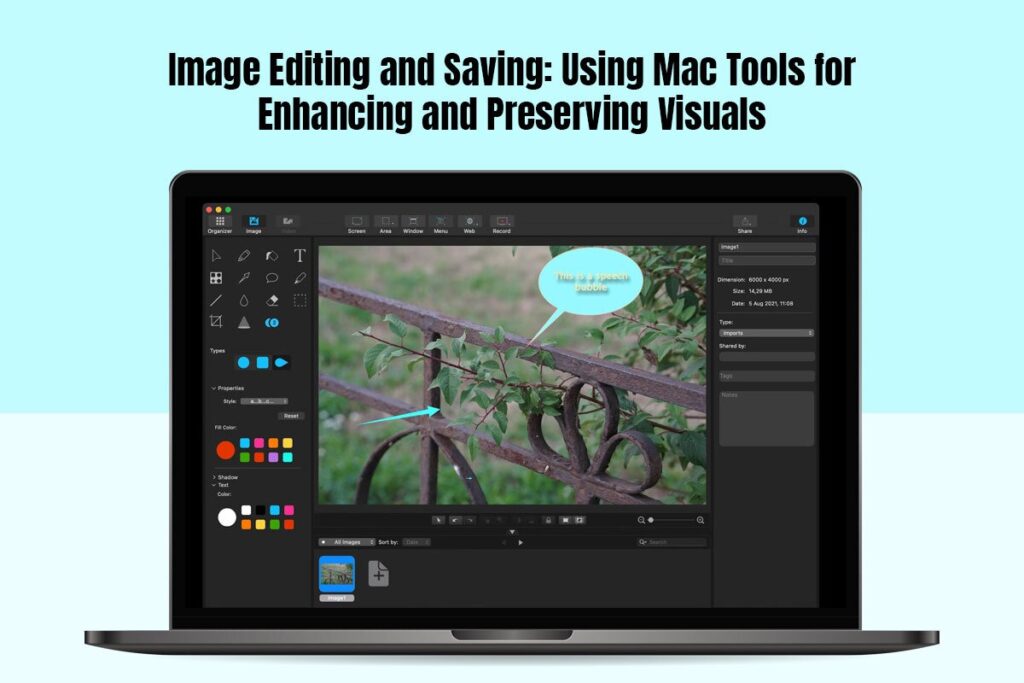
Ever snapped or saved that perfect pic only to realize it could use a little extra magic? Well, fear not! We’re about to embark on a journey into the wonderful world of “Image Editing and Saving: Using Mac Tools for Enhancing and Preserving Visuals.”
Whether you’re a budding photographer or just someone who loves enhanced pictures, join me as we unravel the secrets of tweaking and preserving your visuals using the fantastic tools right at your fingertips. We will also explore ways to save images from the internet.
From enhancing colors to preserving the finest details, we’ve got the lowdown on all things image editing. So, grab your favorite snapshots or saved internet images, and let’s dive into the art of making your visuals truly pop!
How To Save Images From The Internet On Mac
There are two major ways to get pictures on your MacBook – either you snap them yourself or download them from the internet. While snapping pictures is a basic skill most people have, not everyone knows how to save pictures from the internet.
Gladly, this section explains how to save pictures on MacBook from Google and other search engines. The steps are as follows;
- Open your preferred browser and search engine, then right-click the image you wish to save.
- Following that, select “Save Image As…” from the options that appear
- Now, give the picture a name and choose a location on your Mac where you wish to save the image.
- Finally, click “Save”
Another seamless method to save images from the internet is to use the drag-and-drop feature. To do that, simply drag the picture you wish to save on your Mac, and drop it into a preferred folder or location.
However, with this method, you won’t be able to rename the photo before saving it unlike the right-click method discussed above.
Image Editing On Mac: Tools And Tips
For many MacBook users, Photos is the go-to photo editing app. As the default picture editing app on Mac, it is very compatible with the system and offers a user-friendly design.
Here’s how to edit images on the app.
- Lunch the application by clicking on the Photos icon on your Dock or Applications folder.
- Following that, browse through your picture library, then select the image you wish to edit.
- Now, click the “Edit” button at the top-right corner to edit the image.
The Photos app on Mac offers several picture editing features that are user-friendly and straightforward. Whether you wish you change the overall appearance of your picture or tweak a few details, this app got your back.
For example, you can make use of options like flip, crop, and rotate to adjust the orientation and layout of your pictures. You can also use the retouch tool to clean up blemishes on your images.
In addition to that, you can utilize the Magic Wand for automatic adjustments.
Furthermore, you can adjust the colors and light of your images manually on the Photos app.
As a matter of fact, you can convert images to black and white. Likewise, you will have full control over the exposure, saturation, and intensity of your picture.
Once you’re satisfied with the adjustments done to the picture, all you have to do is click “Done” and it saves automatically.
Third-Party Image Editing Software On Mac
While your Mac comes pre-loaded with some awesome image editing tools, the creative world is vast, and there are third-party apps itching to join the party.
Imagine you’ve been rocking out with the built-in tools, but suddenly you think, “Hey, what if I could do more?” Enter third-party image editing software – the rockstars of the creative scene.
These are apps designed by passionate folks who’ve thought, “Why settle for good when we can make it extraordinary?” Popular names like Adobe Photoshop, Pixelmator, or Affinity Photo are like adding a guitar solo to your image editing symphony.
- Adobe Photoshop
Ever heard of Photoshop? Almost everyone has, especially professionals. It’s like the Elvis Presley of image editing – legendary and a game-changer. Photoshop is your go-to for advanced editing, offering layers, masks, and a truckload of filters. It’s perfect for those who want to dive deep into the creative abyss.
- Pixelmator
Now, if Photoshop is Elvis, Pixelmator is the indie rock sensation. It’s user-friendly, sleek, and powerful. Pixelmator boasts a ton of features, including advanced retouching and stunning effects. It’s the cool kid on the block who still knows how to get the job done.
- Affinity Photo
Affinity Photo? Oh, that’s the versatile virtuoso. It brings professional-level editing to the masses. Imagine the power of a high-end sports car but with the user-friendliness of your favorite comfy sneakers. Affinity Photo is for those who want top-notch quality without the steep learning curve.
Conclusion
And there you have it, fellow visual enthusiasts! Armed with the knowledge of Mac’s powerful image editing and saving capabilities, you’re ready to transform every click into a work of art. So, grab your favorite snapshots or saved images, dive into the world of Mac tools, and let your creativity soar! Happy editing!


